5 No Excuse DIY Fitness Equipment Hacks
Fitness August 16, 2025 Damon Mitchell
It’s the third time you’ve toured the local family fitness facility. This time, they’re on to you. The sales manager, Steve, keeps asking you silly questions like, “seems you like it here, what would it take for you to join today?”
Um, cash? Jerk.

(Source: bodywellness.com)
Face it, gyms simply aren’t in everyone’s budget.
You could do pull-ups on the monkey bars at the park down the street, but parents always get weird about the childless, bearded guy working out next to their kids. Sheesh. Not to mention, if you live somewhere inclement, the weather is always a factor, but you gotta workout somewhere.
Why not put together your own equipment? A few pieces could help keep you in shape. Here are five you can hack with just a little time and resources, but first a disclosure on DIY fitness equipment…
Don’t do dumb things like trying to do pull ups on your basement pipes or closet dowels. These things are likely not load bearing, but even worse, they could be conduit pipes. You know, conduit, that thin metal stuff for wiring? It’s usually aluminum. [Read: weak.]
Making your own fitness equipment takes a certain level of engineering. In most cases you’ll need some basic skills like, sewing, and some basic tools experience. If you can use a drill or swing a hammer, then you should be fine.
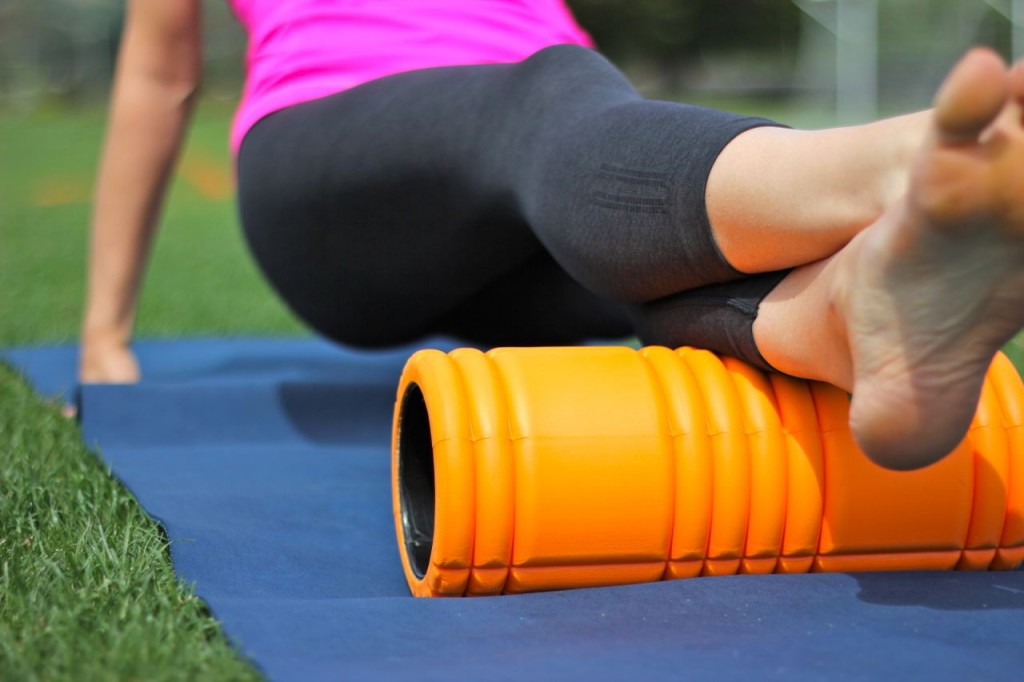
Foam Roller
You know those foamy things everybody likes to roll around on? You’re gonna make your own. It’ll be even better than the cheap one Steve down at the big gym has.
- Go to your local hardware outfit.
- Buy a 12-18 inch length of PVC pipe. It should be about four inches in diameter. They can help you find a cut it to length in most cases. At this point, you could just take that pipe home and start rolling, but we’re gonna make this one special.
- Find some foam, like an old yoga mat, or carpeting insulation. The same hardware store should have it. Make sure you get enough to wrap your pipe.
- Buy some glue of you don’t have any at home. Super glue will melt the foam, so get silicon glue or Household Goop. The latter is best. Shoe Goo works too.
- Cut that foam to fit your pipe and glue it on. Tape it there until the glue sets, then viola! You have a deluxe roller.
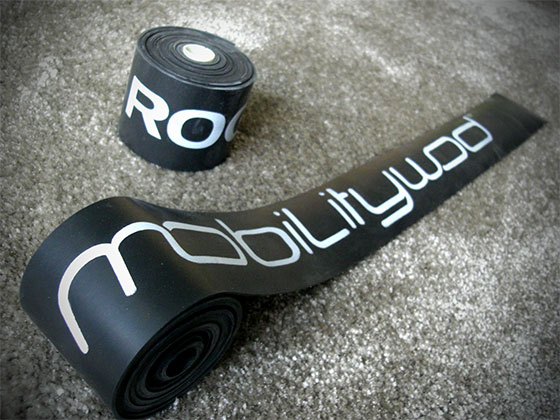
Flossing Bands
Don’t feel dumb if you haven’t heard of these yet. Outside the Crossfit and physical therapy worlds, they are hardly known.
In the simplest terms, flossing bands are used something like a sports wrap to tack down muscle fibers for manipulation. If you have a particularly sore muscle, you could wrap it in flossing bands, then get on your DIY foam roller for miracle-like results in pain relief.
Easy enough to do, the application is a little more complicated than a quick sentence. A good place to start if you are curious is YouTube with this guy, then do this:
- Go to your local bicycle shop.
- Ask them if they have any discarded inner tubes, the larger the better. They almost always have some. Get as many as you can, because it will take you a couple of tries to get the width and cut right. If they are out, ask when you can come back.
- At home, with your most industrial scissors, cut the inner tube once across the tube, so it’s no longer a complete ring. If there is a hole in the tube, this would be a good place to make this cut.
- Now, seam that inner tube from end to end. I’ve found that if I cut along one side, then on the other, I can get two bands out of one tube. If the tube is thin, like for a racing bike, don’t bother. You want a finished product that is about two-inches wide.
- Wash your new bands then wrap until the cows come home.
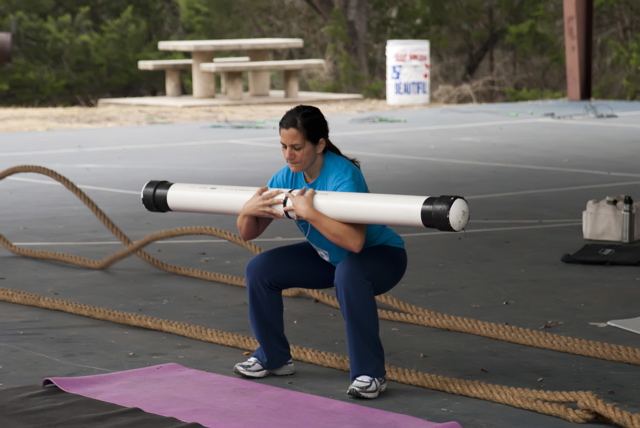
Slosh Tube
Everybody has a slosh tube but you, I know. Now you can have your very own. It so easy.
Don’t know what the slosh tube is for? Try balance, strength, endurance, and just about anything important about fitness.
Once you carry one around for a minute you will see. Slosh tubes are, well, sloshy.
- Go back to the same store where you found the PVC pipe for your roller.
- Ask them to help you cut a much 9-10 foot length of the same diameter pipe as before. Also, have them help you find caps to fit the ends. Explain that the caps will need to fit well enough to hold water in the pipe, but that you need to be able to pull off one side.
- Fill that pipe 50% with water and cap it.
- You’re ready to do walking lunges, presses, or overhead squats with your slosh pipe. Careful you don’t drop it. It can break.
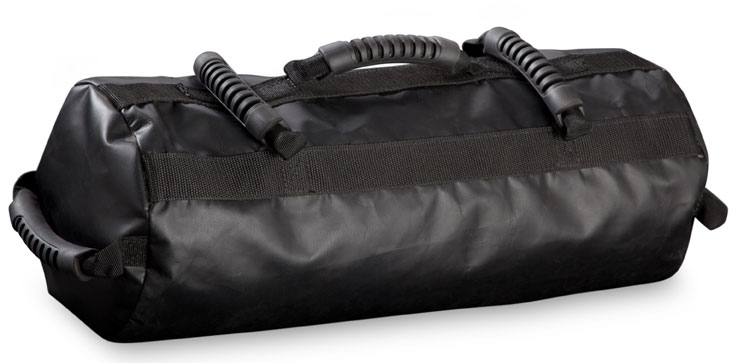
Sand Bags
Similar in concept to the slosh tube, sand bags allow you to work with tools which do not stay put. Real life is full of these, like bags of rice, small children, luggage, and more.
Beyond brute strength, there is value in being able to steady something that is not so firm. If you can do it while you squat, lunge, jump or otherwise move, then you are really training.
- You need to find high-quality duffle bags. Look for heavy-duty canvas, straps that wrap all the way around, and more than one row of stitching. The more sizes you can buy, the more options you will have.
- Don’t actually use sand. No matter what you do the sand will leak everywhere. Instead, use fine gravel or any substrate which is not fine, but not bulky. Think if you were to throw the bag over your shoulder would it hurt? One DIYer recommends using wood stove pellets.
- You can put the filler into an inner bag of contractor bags, taping them closed with duct tape, but don’t expect them to stay closed over time.
- Test the weight of the bags before you close everything up, then do so. You’re ready to rock.
Dumbells
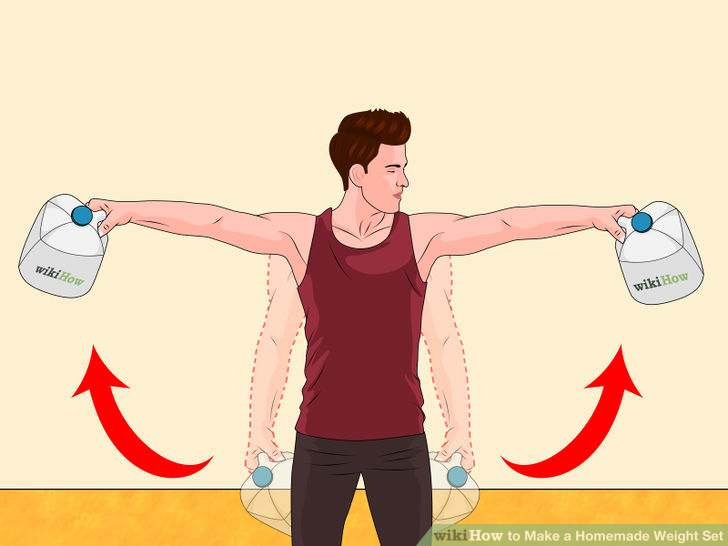
Working out with handled bottles filled with water like they were dumbbells is one of the oldest DIY tricks in the book.
The great thing about co-opting handled beverage containers is they come in many sizes. You can use everything from discarded milk bottles, detergent bottles, or even the huge water jugs that go in office water dispensers. Sky’s the limit.
The process is as easy as filling the bottles with water, then lift them like dumbbells. It’s that easy, but if you want to up your game, fill ’em with concrete.
- Pick up some substrate at the old hardware store along with a bag of ready mix.
- Mix the concrete in a wheelbarrow or bucket like you were making oatmeal. You don’t even have to do your finest work.
- Fill up pairs of different size bottles to weight options.
- Let em dry 24 hours, then lift.
Make these five pieces of equipment to be well on your way to not needing that fitness center down the street. Next time you see Steve, you can tell him to stick it. In fact, do it while you are lunging down the street carrying your fancy slosh pipe.
He’ll be so jelly.
